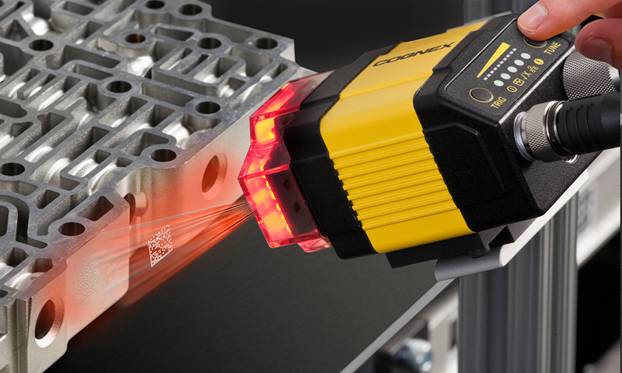
From the very beginning of their use, the power of coordinate measuring machines to become integrated closer into the production process has been recognized. Quality control is about more than just double-checking that parts have the correct dimensions. Defects have to be traced back to the production line to determine which tool is the source of the error, at which point it can be fixed, verified, and put back into action without leading to further wasted time and materials. In the past, the long throughput of quality control departments delayed that flexibility. First, components had to be temperature controlled before they could be accurately measured away from the shop floor. Then, reams of data had to be analyzed in order to find relevant dimensions and flaws could be discovered. Finally, tools had to be inspected by measurements technicians to get them back online.
In the meantime, waste and lost time was still an issue, as defective parts still had to be refitted or scrapped. However, with modern coordinate measuring machines and computer systems, analysis times have been trimmed and process correction can happen in a much more integrated way. Improvements in user interface have played a huge role in making this happen.
High-speed scanning and enormous data collection capabilities have played their part in streamlining quality assurance. Laser scanners can be affixed to portable arms or axis-moving measuring instrument and maintain accuracy to within twenty micrometres. Increasingly powerful algorithms have gone a long way in automating scanning probes, meaning analogue measurement is moving mostly toward parts that require portable arms. Measuring instruments self-adjust their speed according to surface and they can be used for uninterrupted high speed scanning.
Data collection and reduction system software has eliminated irrelevant data. Programs like PC-DMIS have also become simplified, allowing staff without any programming knowledge to operate metrology equipment. Measurement routines can be directed to custom applications without the use of a programming language, speeding up inspections immensely. Simplified user interfaces have transformed cumbersome programming into menu-supported tasks that are as easy as clicking a mouse. Consulting with retailers like Canadian Measurement-Metrology Inc. can go a long way toward integrating metrology into your production process. To make the most of metrology software, it’s imperative to ensure that you’re getting products that work across a range of coordinate measurement machines and match the applications you need in your shop.
Efficient data collection can bring quality assurance closer to your production line. You can discover more about software for various outputs at http://www.cmmxyz.com. Better integration of measurement control means trimming waste and correcting defects in record speed. Metrology software’s latest development has been direct translatability between computer-aided design and inspection. It’s no longer necessary to translate computer-aided design models to inspection programs, as manufacturing and inspection can now share the same design tolerances and communicate directly. A CMM collects hundreds of thousands of data points; the right software makes it easier for operators to analyze it with precision.Get high-powered technology for the right applications to minimize waste and improve correction speeds.


